Bid Day Photography Training:
Photoshoot Specs
Setting Up
First, you’ll want to find the Bid Day Planner in charge. If the Bid Day Planner is not available, ask to speak with an Executive Member, such as the Chapter President or House Mom.
Once you’ve found her, introduce yourself and explain what you’ll be doing. Ask exactly where the photographs will be taken.
Evaluate lighting and set up. Set up lights if necessary to eliminate shadows falling on the women’s faces.
If there aren’t chairs set up and you think they’ll be necessary to get the best photo, ask the contact if there are any chairs available.
Ask the Bid Day Planner how they want smaller group photos taken.
Options are:
- By Pledge Class (PC 13, PC 14, PC 15, PC 16)
- By Academic Class (Senior, Junior, Sophomore or Freshman)*Most Chapters prefer Pledge Class, however, it is best to ask.
Camera Settings
Make sure you use enough depth of field, especially with a large group (50 girls or more). Light for F8 at least.
Keep your ISO low to reduce noise. If you need to bump up your ISO, DO NOT UNDER EXPOSE. Know your camera’s limits!
Shoot in RAW on your camera.
In harsh lighting conditions please bracket your photos one stop in each direction.
Lighting
Make sure the lighting is as even as possible by using flashes and strobes.
Mixed Lighting:
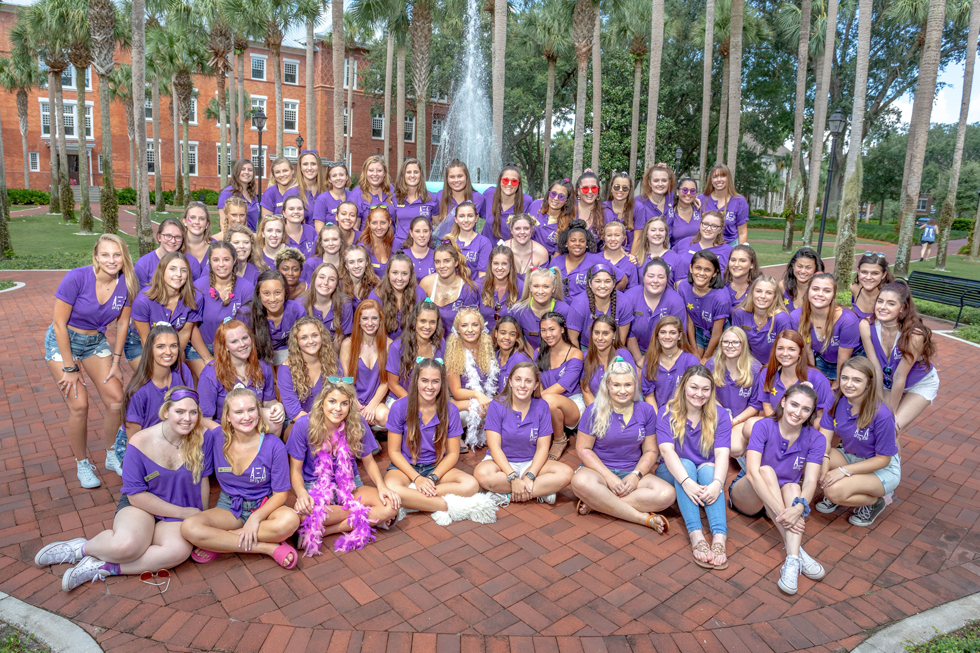
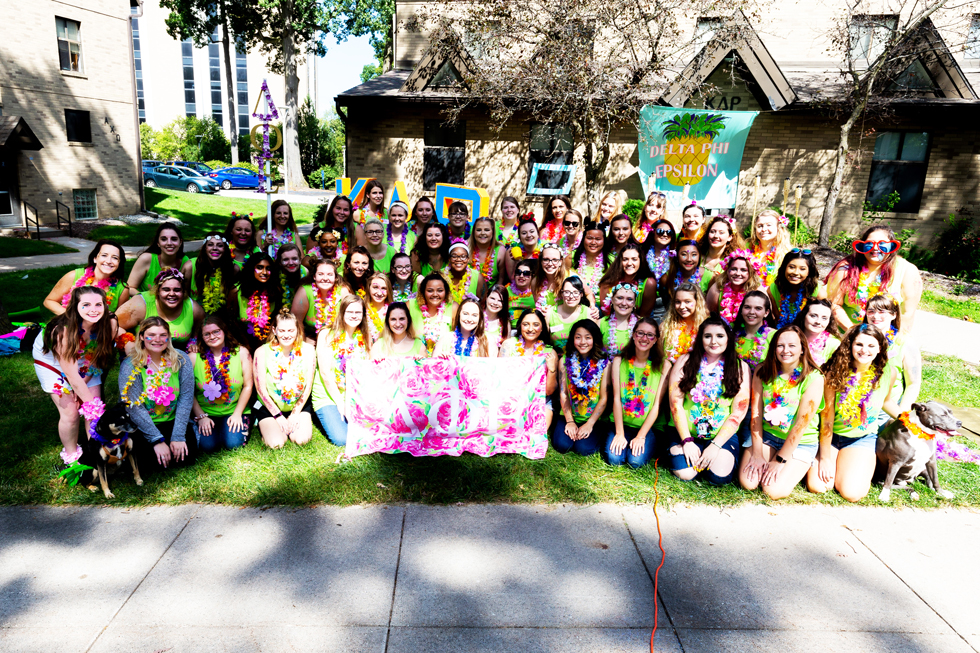
Use a strong fill flash and expose for highlights.
Correct
Exposed for highlights, and used fill to bring up shadows.
Incorrect
No fill light to fill in shadows, highlights blown out.
Directional Lighting:
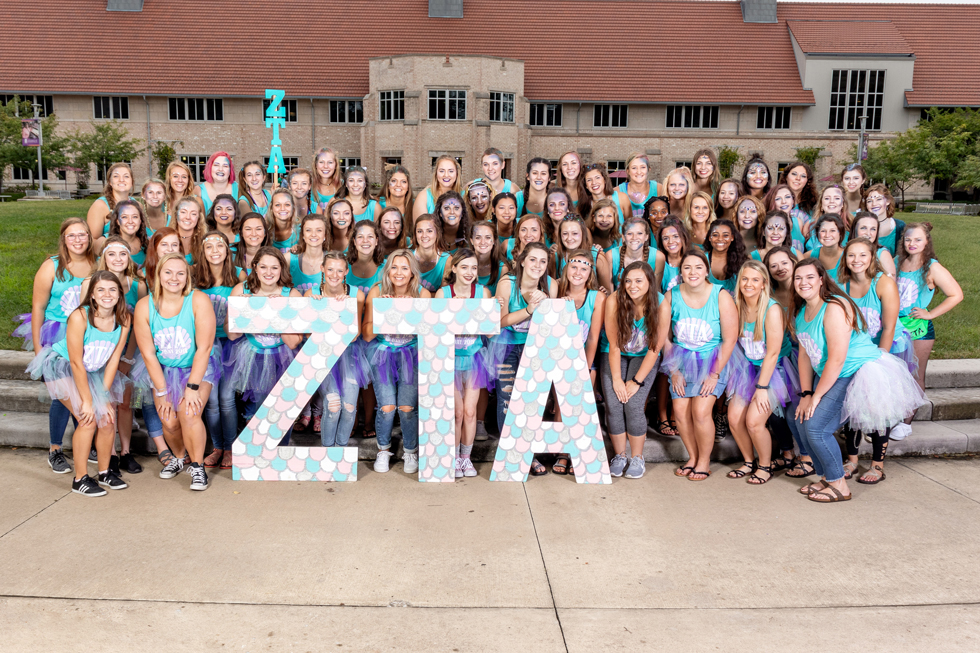
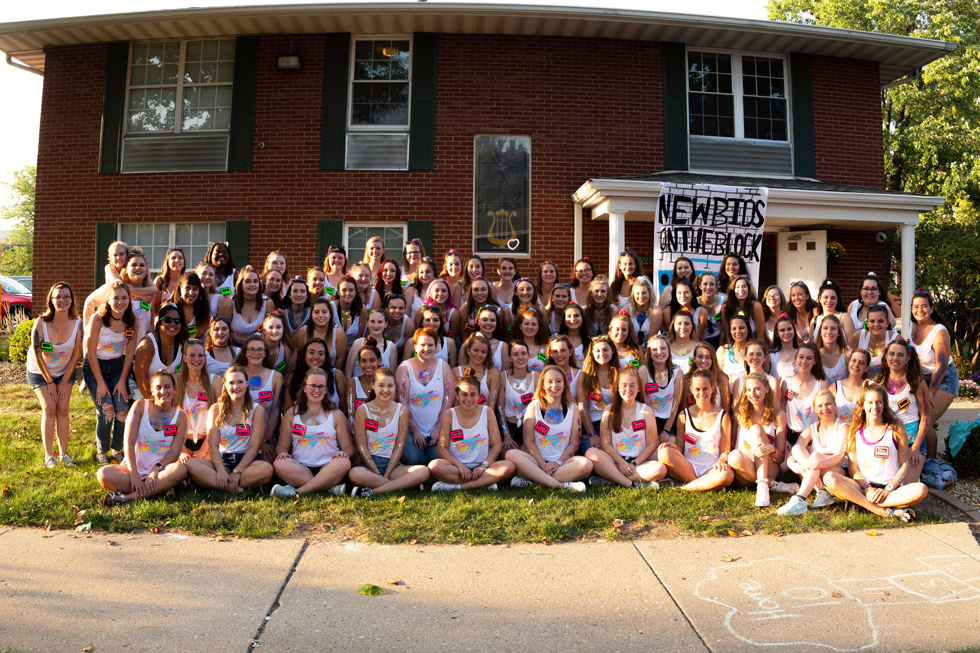
If the women are cross lit (the sun heavy on one side and shadow on the other), set a flash to fill on the shadow side and expose for highlights.
Correct
Strong directional light but strobes used to compensate
Incorrect
Strong sunlight from one direction, no flash used
Indoors/In The Dark
Use strobes or speed lights when shooting indoors/in the dark. Place each light roughly 5-10 feet on each side of you and point right at the group. An alternative is to use one powerful strobe directly behind you. This only works if the light is strong enough and you are far enough back to get the whole group.
If you are in a small room and can’t get the light to spread evenly because it’s too close, try bouncing it off of the ceiling.
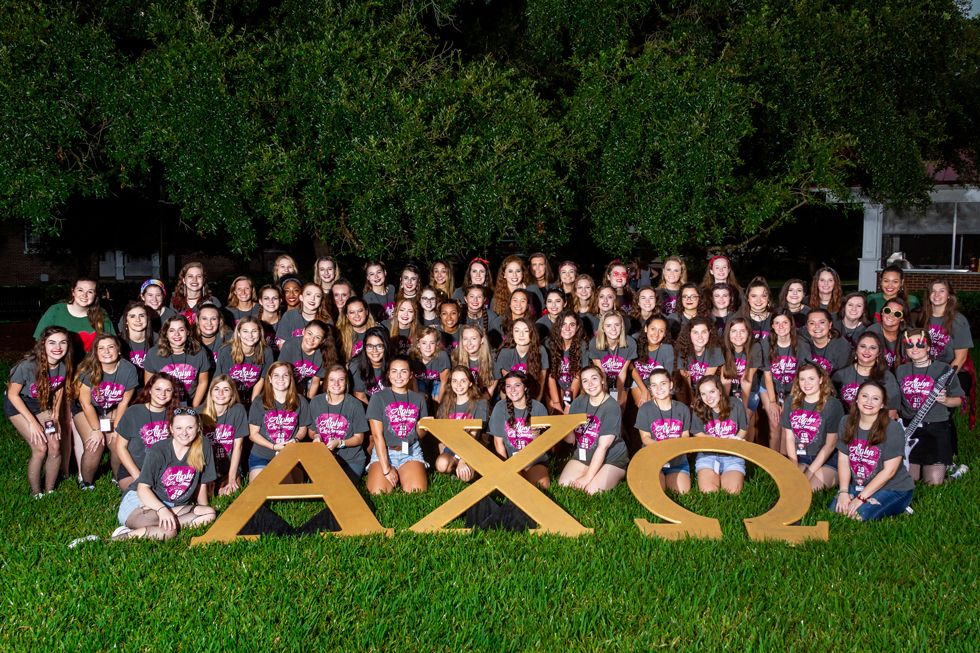
Correct
Shot at night with one AB 1600 as high as the stand goes. There are no shadows.
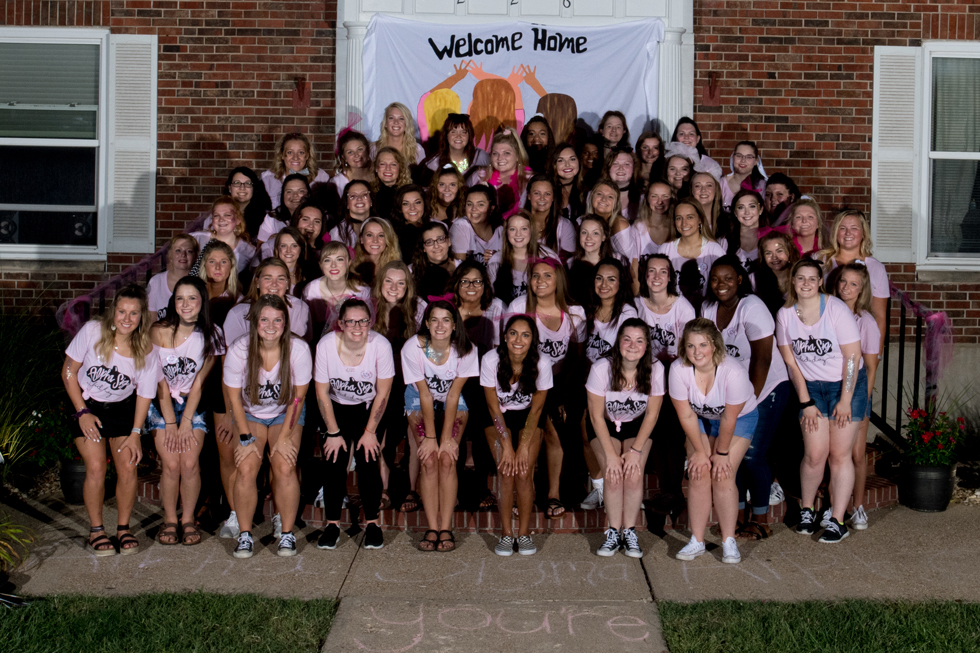
Incorrect
Shot at night using one strobe that was not high enough, casting shadows on faces.
Shooting at dusk or dark
When shooting at night focusing can be an issue. A good tip is to have one of the girls hold up a cell phone and lock the focus on that.
If you feel comfortable doing so, bring down your shutter speed. Only do
this if your group is not being lit by any ambient light.
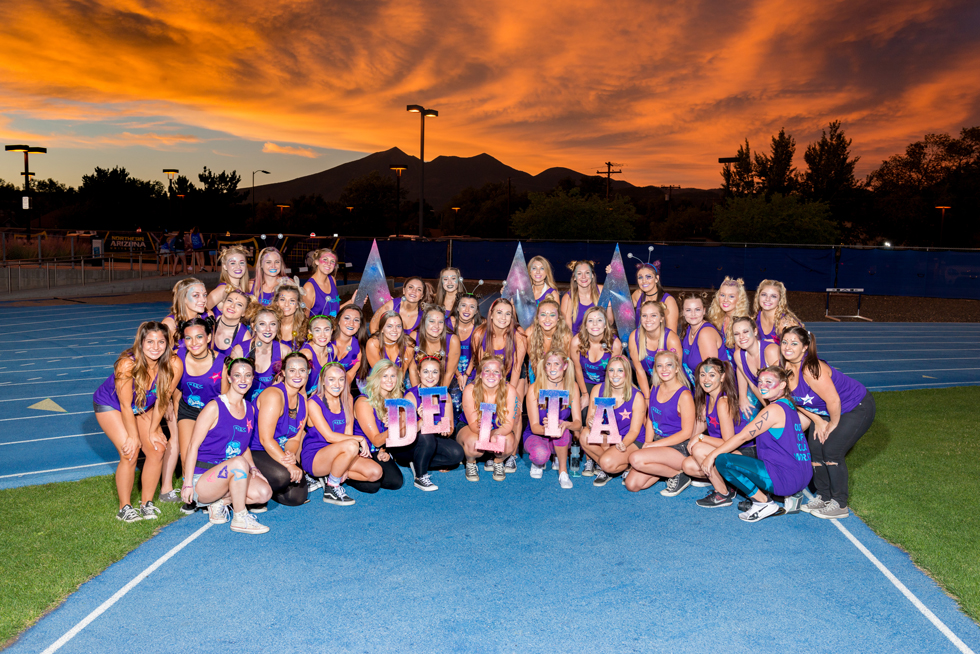
Correct
Used a slower shutter speed for sky exposure & strobes to balance the group’s lighting.
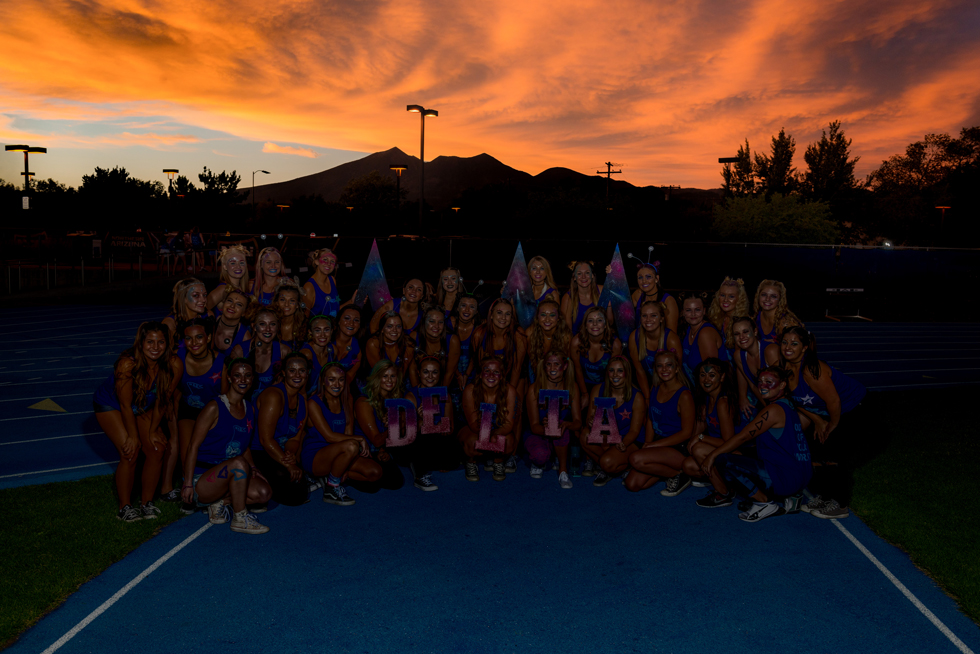
Incorrect
Exposed for the sky with a slower shutter speed and without using the fill flash.
The Shot List
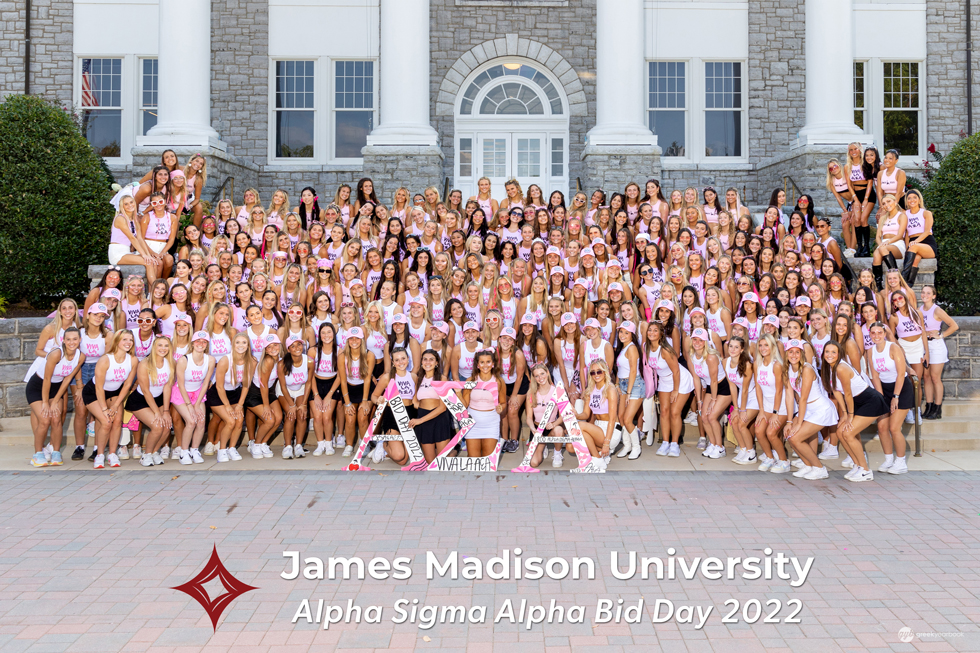
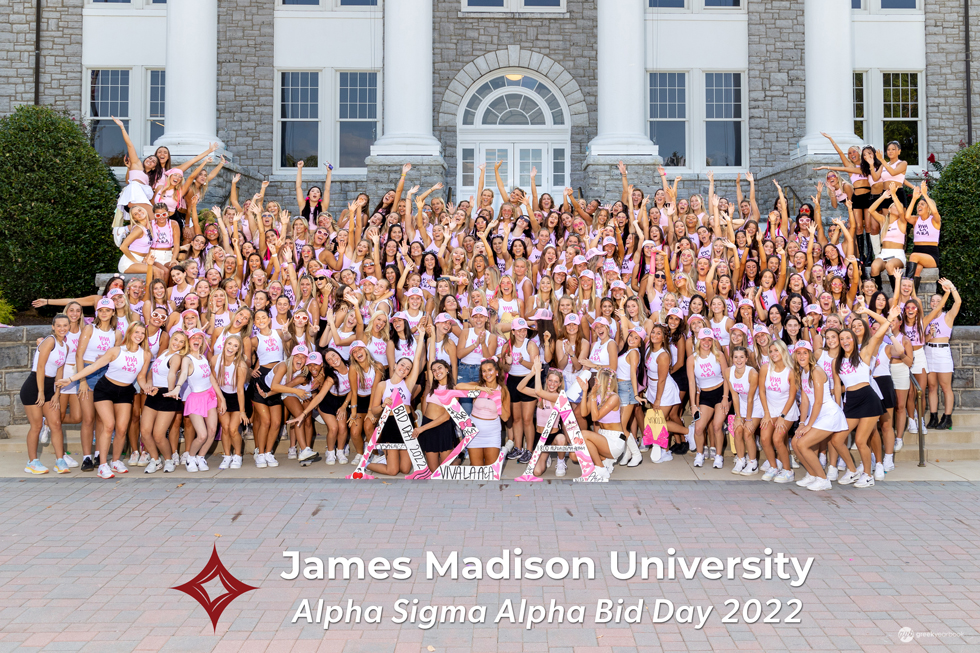
- Entire Chapter (formal & fun) *Most important shot
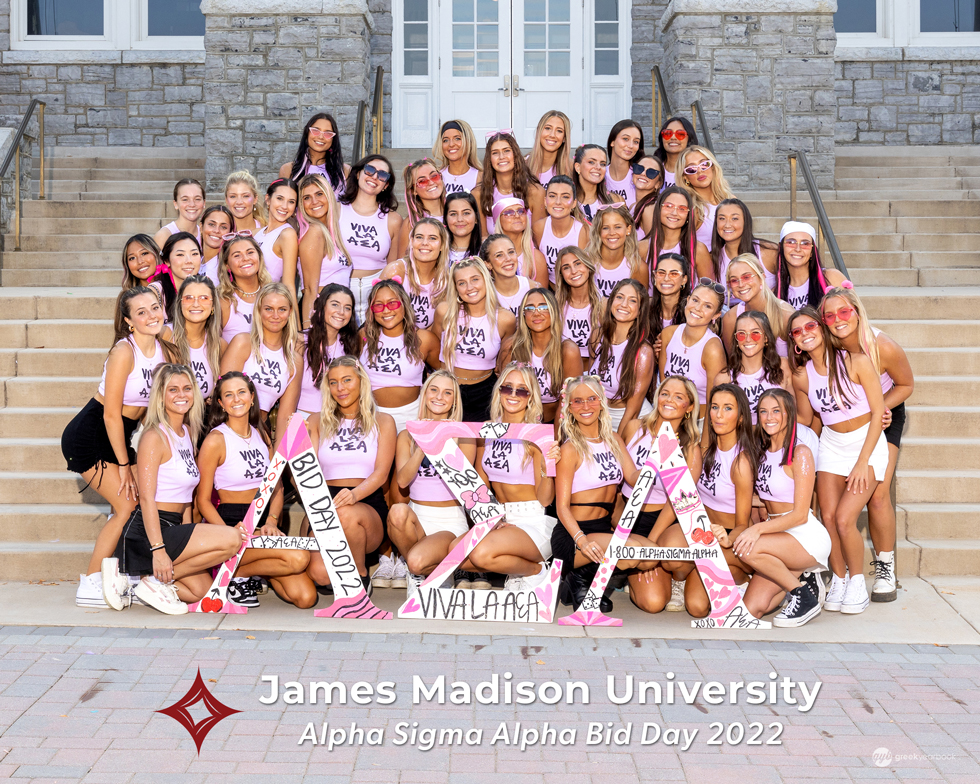
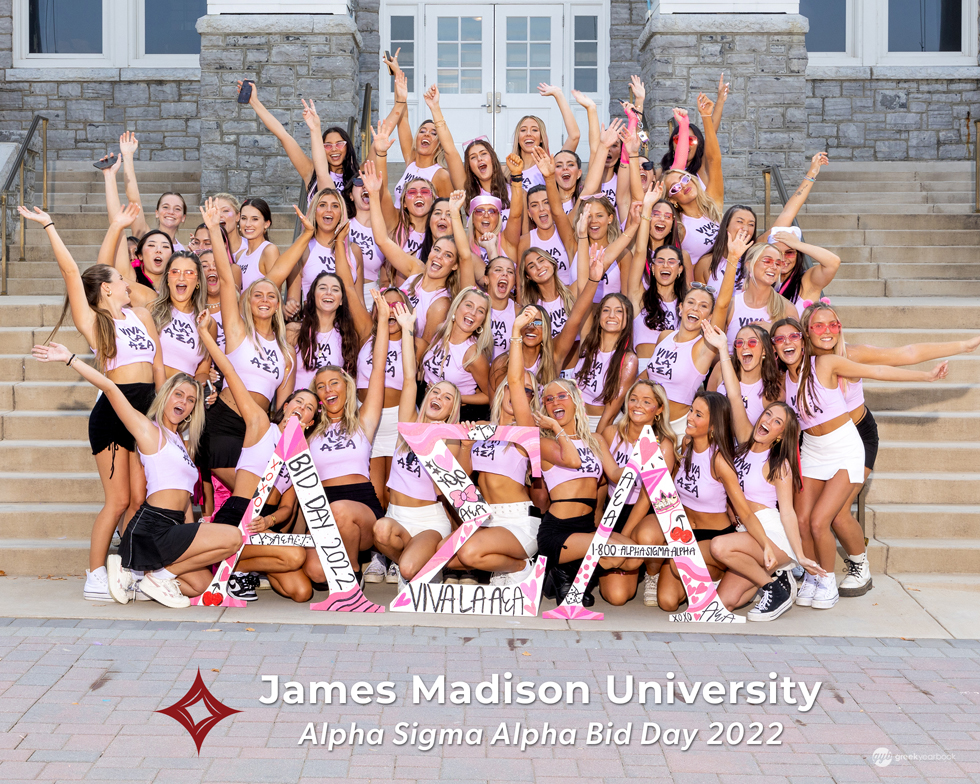
- New Members (formal & fun) *Second most important shot
- Sophomores (formal & fun)
- Juniors (formal & fun)
- Seniors (formal & fun)
Chapter & Group Examples
